引っ越しや買い替えをするなら利用したい!家電買取の基本情報をご紹介します
家電買取とは不要になった中古家電アイテムを買取してくれるサービスのことです。最近ではインフレの影響で、家電各種の新品価格は上昇傾向が顕著です。最新機能を要求しないなら、中古品でも十分必要な性能を発揮してくれます。 中古家電の販売に対して、家電買取サービスを利用することで商品を確保するわけです。家電買取を紹介するに際しては、量販品は査定対象にならないことを抑えておくことがポイントです。こだわりの家電を査定することで、不要な家電を効率的に処分することができます。
捨てるより家電買取業者に売る方が良い理由
使えなくなった家電は、捨てて処分しようと考えている人もいるのではないでしょうか。すでに壊れているものや、かなり古いものでは、ゴミとして処理するしかないものもあります。やや古くても、まだまだ使えるものや人気メーカーのものなら、良い価格がつく可能性もあります。 捨てるよりも家電買取業者に売るほうが良い理由では、まず不要になった家電を現金化できることがあげられます。 まだまだ使える家電も、捨ててしまうとゴミになりますし、環境にも負荷がかかります。家電買取なら、中古家電も裁量することができますし、ゴミの軽減にもつながります。 それに、家電によっては処分にお金がかかるものもあります。その点、買取が可能であればそうした処分費用も抑えることができます。家電の中にはかなり重さのあるものや、大きなものもあります。それを収集場まで持っていくとなると、手間もかかりますが、家電買取であれば自宅など希望の場所まで取りに来てもらえます。搬送や梱包の手間がないのもメリットといえるでしょう。
家電買取で取り扱っている電化製品の種類
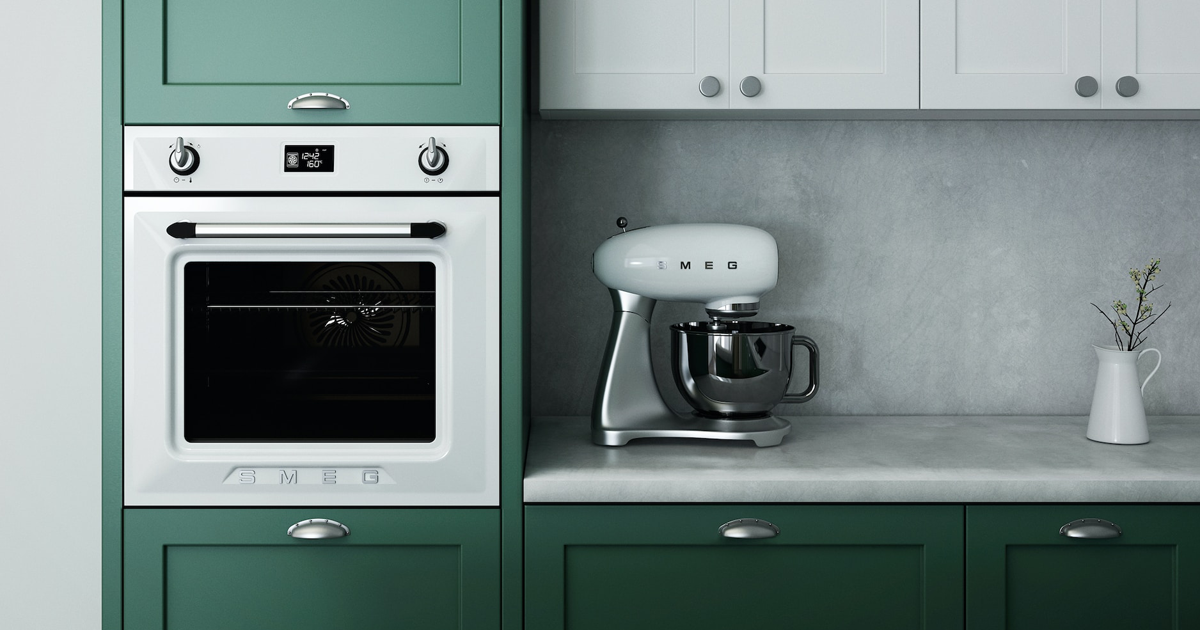
家電買取で取り扱いがある電化製品には、どのような種類があるでしょうか。テレビや冷蔵庫に洗濯機といった定番家電は、家電買取で必ずといっていいほど取り扱いがあります。近年はパソコンも取り扱っているお店も多いので、パソコンも家電の一種に数えられていることがわかります。パソコンだけでなくスマートフォンやタブレットPC、ゲーム機と周辺機器も同様です。厳密には家電ではありませんが、ガスコンロも扱うお店もあるほどです。掃除機や電子レンジ、炊飯器なども家電買取をしているお店が多いです。取り扱う種類が多いほど査定を希望するお客様が増えるので、品目を充実させる方向のお店が珍しくないのも納得です。空調を代表するエアコンや空気清浄機、加湿器も今や家電買取の目玉といえる品目です。ロボット掃除機やプリンター、変わり種のカーナビやカラオケ機器なども、買取店の品目で目にすることがある電化製品に数えられるのではないでしょうか。
家電買取ショップで買い取り出来ない製品とは
家電買取ショップで買い取り出来ない製品としてまず挙げられるのは、破損している製品です。電源が入らなかったり本来備えている機能が使えないというものは買い取りできません。冷蔵庫の冷蔵室は問題ないものの冷凍室だけが使えないといった一部破損の製品も同様です。一部のショップにおいては買い取ったあとに修理して商品として店頭に並べることもありますが、一般的には買い取ってもらえないと考えておくべきです。 さらに、家電買取では法令によって買い取りが出来ない製品も存在します。電気用品安全法によりPSEマークが付与されていない冷蔵庫や洗濯機、消費生活安全法によりPSCマークのない石油暖房機などが対象になります。また、近年は通信機能を備える家電製品も増えてきました。国内メーカーや国内代理店から発売されたものは問題ありませんが、海外から並行輸入したものは技適マークが付与されていないことがあり、その場合は買い取り出来ないため注意が必要です。
家電買取の査定には費用がかかるのか
家電買取を利用する際に気になるのが、査定に費用が発生するのかということです。これは業者によって異なりますが、基本的に無料で行われることのほうが多いため、お金のことは気にせず利用をすることができます。まず、家電買取を行っている業者は買取をしてそれを販売して利益をあげているわけですから、売ってくれる人がいなければ商売になりません。しかし、査定をするのに費用を徴収したら売買の前に商品を持ち込んでくれる人すらいなくなってしまいますから、基本的に鑑定に関しては無料で行っていることが多いのです。ただし、出張買取や宅配買取のようなケースでは出張料や送料の負担が必要になってくることもありますから、その点は事前にチェックしておくようにしましょう。それでも出張買取や宅配買取にしても、完全無料をうたっている業者も少なくありませんから、基本的に家電買取サービスというのもは一切の費用がかからずに利用できるものだと考えて問題ありません。
家電買取サービスに出来るだけ高く買い取ってもらうには
家電買取サービスを利用する場合、出来るだけ高く買い取ってもらうコツは何でしょうか。買取価格はサービスごとに査定基準が異なるので、高価査定に定評があるサービスを選ぶのが基本です。家電買取には商品ごとの価格の上限が存在しますが、上限に近い価格で売れるようにすることも大切です。査定は減点方式なので、傷や汚れが極力付いていない方が高く売れます。傷は下手に隠そうとすると却って目立つので、何もしないのが正解です。汚れは落とせる場合が多いですから、乾拭きから始めて、水拭きや洗剤を使ったクリーニングを検討すべきです。家電は基本的に水に弱いので、水拭きをするときは内部に水滴が入らないように注意です。外装を綺麗にするだけでも印象は良くなりますが、内部も届く範囲で綺麗にするのが家電買取のコツです。空調家電については、フィルターも清掃することをおすすめします。説明書を見ながら綺麗に出来るところを綺麗にして、付属品一式を揃えて査定を申し込むことが、納得の家電買取を実現する方法ではないでしょうか。
大型の家電買取は出張サービスがあると便利
大型家電の買取は、出張サービスがある家電買取店を選ぶのが便利ではないでしょうか。大型家電は運び出したり、車に積み込んだりするだけでも大変です。運搬に必要な車の手配と運転もしなければいけないので、手間を考えると面倒になってしまいます。出張サービスがある家電買取店なら、電話するだけで来てくれますし、自宅やオフィスなどで査定買取が完結するので便利です。搬出は家電買取店がやってくれることが多いので、運び出す手間がなくなるのも魅力です。大型家電の運び出しにはコツがありますし、知識と経験がなければ失敗する可能性が高いです。商品や建具に傷をつけるばかりか、足に落としたり倒れたりするなどで怪我をすることも考えられます。重量があって持ち上げるのも難しそうな大型家電は無理に運び出そうとはせず、電話1本で駆けつけてくれる家電買取店に相談をおすすめします。経験豊富な買取のプロに相談して任せれば、怪我のリスクを負うこともなく安心ではないでしょうか。
家電買取を依頼するのに適した時期とは
家電買取を依頼する際に最も適した時期は春先です。正確には、2月後半から3月前半の新生活が始まる少し前のシーズンが適していると言えます。4月からの新生活に備え、引っ越し先で家電を買いそろえたいという需要が多いため買取店も積極的に買取を行っています。買取点数が多いため査定に時間がかかる場合もありますが、高額買取が期待できます。 また、エアコンなどの季節家電もその需要が増える一ヶ月から二ヶ月程度前に家電買取を依頼するのが適しています。エアコンであれば暑さが見込まれる夏と寒くなる冬の1ヶ月程度前、つまり6月や11月が最適です。こたつやファンヒーターなどの比較的小型の暖房家電は倉庫のスペースを圧迫しないため、10月後半などまだ本格的に寒くなっていないタイミングであっても高く買い取ってくれるでしょう。 一方で、家電の種類によってはイベントの開催前が家電買取を依頼する良い時期になることもあります。例えば、オリンピックが開催される前はテレビを買い取ってもらう良いタイミングになります。
家電買取ショップに商品を持ち込むには
ドライヤーや卓上スタンドといった比較的小さいサイズの家電は、バッグや紙袋に入れて手荷物として持ち込むことが一般的です。その際、雨による水濡れがないようビニール袋などで品物を包んでおきましょう。 一方で、電子レンジやオーブントースターなどの中型家電は自動車で持っていくことになります。ショップによってはトラックを貸し出してくれるサービスもあるため活用できます。 冷蔵庫や洗濯機といった大型家電は自分で持ち込むことは難しいため、ショップに連絡して引き取りに来てもらうことになりますが、友人などに手伝ってもらえるのであれば台車に乗せてトラックに積み込み、店頭で荷下ろしするということも可能です。 また、家電買取ショップに商品を持っていく際は商品の破損に気をつけなければなりません。最近の家電は内部構造が複雑で、精密機器が組み込まれているため振動や衝撃で壊れてしまうことがあります。家電買取における査定は店で電源を入れたときの状態で判断されるので、破損は依頼主の責任になります。
家電買取では宅配買い取りが可能なこともある
家電を買い取ってもらう際、様々な事情で店舗に持ち込めないものは宅配買い取りサービスを活用することが可能な場合があります。 このサービスは家電買取を依頼したいものを郵送で買取店に送り、査定結果をメールや電話などで聞いて承諾すれば買取金額が銀行口座などに振り込まれるという仕組みになっています。依頼するときは、店舗に持ち込む家電買取よりも現住に梱包することを心がけましょう。輸送中に破損したとしても、店舗側はもとから壊れていたのか輸送の衝撃によって壊れたのかを判断することが出来ないからです。そういった心配が無いようしっかりと梱包し、可能であれば動作している様子を撮影しておくと安心です。 一方で、宅配買い取りサービスは店舗によってその内容に差があることに注意が必要です。送料が先払いだったり、買取金額の振込手数料が売主の負担になることもあります。事前にサービスの規約を熟読し、納得できる内容であることを確認してから依頼するようにしましょう。